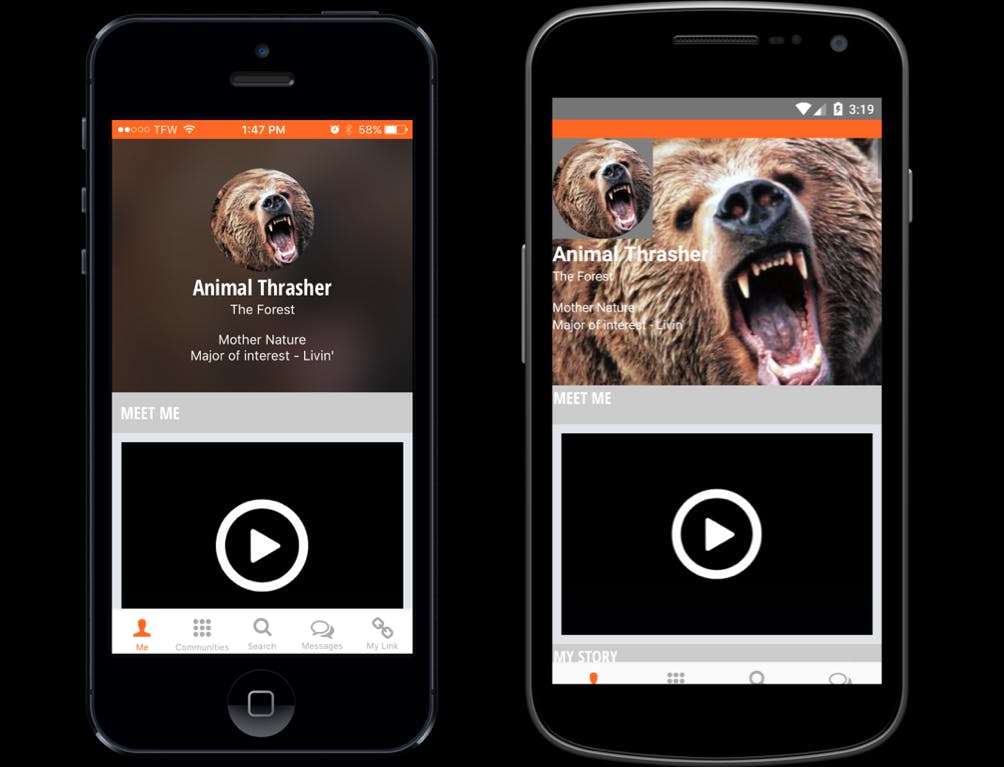
If you’re anything like us, you started working with React Native by spinning up your app on iOS, and everything was working great. You’d write some code, press CMD+R, write some more code, and it felt like magic.
Then the day came, you get a message from the product team: “Let’s use our RN app on Android too”… “Okay”. So you open Android Studio, struggle to find the play button, and when you eventually build it: errors, lots of errors. You slave away at fixing your dependencies and finally see a successful build. The moment between that first successful build and seeing your app launch on your test device is beautiful until the app opens and it looks like someone shot gun blasted your components onto the screen of a Galaxy S6.

##Split Pathing Components
Note: As of August 2016, we’ve realized that the best way to do cross platform styling without having to split path or wrap components is to lean heavily on the flex layout paradigm. For cases where there are inconsistencies after flexifying your app, follow this guide.
At a high level, we need to find and fix the components and/or styles that are inconsistent between Android and iOS.
There is a guide published by Facebook that goes over the split-pathing methods: facebook.github.io/react-native/docs/platfo..
One method not included in that article was introduced by Facebook introduced in their 2016 F8 app. It’s a helper called F8StyleSheet:
import StyleSheet from 'F8StyleSheet';
var styles = StyleSheet.create({
  crossPlatformStyle: {
    margin: 10,
    ios: {
      paddingTop: 5
    },
    android: {
      paddingTop: 10
    }
  }
})
The trick here is to create the file F8StyleSheet.js, which can be found here github.com/fbsamples/f8app/blob/master/js/c..
##Dodging OOMs (Out of Memory Errors)
iOS is a lot more forgiving of using large amounts of memory than Android, especially around displaying images.
- At first, all of the photos on our user profile screen would constantly flash. This happened because the OS would load an image and then remove it to show another one (to free up memory), which it would repeat indefinitely. The solution was pretty straightforward: request smaller images (only as big as you need) from the server for views that showed a lot of simultaneous images.
- The static images in our RN project were mainly .png files. We learned that RN on Android doesn’t yet down-sample png images, but they do down-sample jpgs. Converting all of our static images to jpgs reduced our memory footprint.
- When using the app for an extended period of time, it would also consistently OOM. At first this seemed like a memory leak, but was the memory use did level off over time. A solution for “apps that use a lot of memory” is to set largeHeap to true in AndroidManifest.xml. You still need to limit memory usage, since largeHeap only gives you a larger heap, but not an unlimited heap, and the size is manufacture-dependent:
<application
  android:name=".MainApplication"
  android:allowBackup="true"
  android:label="@string/app_name"
  android:icon="@mipmap/ic_launcher"
  android:largeHeap="true"
  android:theme="@style/AppTheme">
##SingleInstance for Push Notifications
Android applications have this odd “sub-application” concept called an “activity”
By default, Android is happy to spawn duplicate activities and simply kill the old ones. For React Native this puts everything into a bad state. So when a user taps on a push notification, it can cause your app to crash or hang. The fix to this is to force your MainActivity to only have one instance open at a time, and that way Android will reuse the existing instance. In order to do this, you must set android:launchMode to singleInstance in the activity block of AndroidManifest.xml:
<activity
  android:name=".MainActivity"
  android:label="@string/app_name"
  android:windowSoftInputMode="adjustResize"
  android:screenOrientation="portrait"
  android:launchMode="singleInstance">
##Conclusion
Using React Native to create a great, consistent UX across Android and iOS might feel painful initially, but at the end of the day its still drastically less work and more maintainable than having two separate apps in Objective C/Swift/Java.
As time goes on, you’ll start getting the feel for how to do things in React Native, which will in turn allow your app work consistently on the first try for both Android and iOS.

